IResizer Crack+ [Latest]
IResizer Crack+ [Latest]
Intuitive image manipulation tool that can remove unwanted content Reliable image resizer with multiple presets A lightweight, yet powerful image resizing tool What is a hotfix?A hotfix is a temporary solution to a problem with a Microsoft product. Hotfixes are only available to affected customers. The search results that you are about to see are from the Microsoft.com search server. They are not tailored to your product, and they are NOT official descriptions of products. They are a sampling of what our research has found on Microsoft Support.Microsoft reserves the right to change or remove this content from these search results and not make any warranties or guarantees about the content's accuracy. If you find potentially helpful content that is not displayed here, please contact us. Hotfix(s) Fixed an issue where users of Windows 7 might experience a red ring around the desktop when they click on the Start button to launch an application. For the full list of hotfixes for your product, visit the Microsoft Update Catalog at or in the Client Area of the Microsoft Download Center at Adding HeaderView on a UITableView I am trying to add a header view on a UITableView but have not been able to get it to work. I have been trying different approaches and one of the best I came up with so far is this: -(NSInteger)numberOfSectionsInTableView:(UITableView *)tableView { if (self.firstRun) { return 1; } else { return 2; } } - (NSInteger)tableView:(UITableView *)tableView numberOfRowsInSection:(NSInteger)section { NSInteger rowCount = 0; if (self.firstRun) { rowCount = self.collections.count; } else { rowCount = self.history.count; } return rowCount; } - (CGFloat)tableView:(UITableView *)table
IResizer Crack+ Serial Number Full Torrent Free
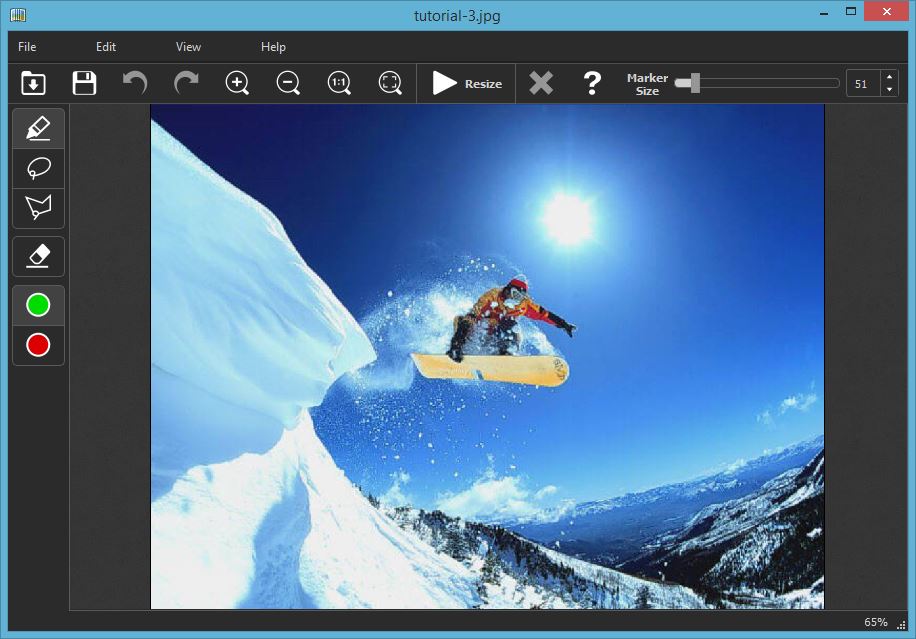
Make a selection of areas to be removed from an image. Image size is the approximate area you want to crop from an image. It can be an exact or a percentage value. Remove selected areas from an image. Compress an image to fit into a certain area, preserving its original quality. 1 image size 2.01 MB How to Use iResizer Crack 1. Open the iResizer Cracked 2022 Latest Version application. 2. With the selected image (Open image in the application), mark the area that you want to remove. 3. Click on the button "Remove area". 4. The iResizer Crack Mac application will show the area that will be removed from the image. You can also check out the new area that will be created (Added image size). 5. Click on OK to proceed. 6. The new area will be removed from the image. You can also Mark an image, or a selection of the image Delete area Add area Compress an image Version history: 1.0.1.7: - Added Mute (menu bar). - Added Full-Screen mode (menu bar). - Added Save and/or exit (menu bar). - Showing the last used presets and/or image sizes. 1.0.1.6: - Fixed an bug that was affecting the "Save" menu. - Fixed some minor bugs. 1.0.1.5: - Added: Cracked iResizer With Keygen menu bar. - Added: options (right-click) menu bar. - Added: history (right-click) menu bar. - Added: iResizer Cracked 2022 Latest Version icon in the context menu of Image-Qt. - Added: option to remove multiple areas. - Added: option to change presets. - Added: option to choose image size. - Added: option to create the current image size. - Added: option to save current/selected image size and/or preset. - Added: option to exit iResizer. - Fixed an bug that was affecting the "Compress image" option. - Fixed some minor bugs. 1.0.1.4: - Fixed: detecting and removing specific areas. - Fixed: making a selection of parts. - Fixed: detect and deleting specific areas. - Fixed: speed. - Fixed: startup time. - Fixed: saving a preset. - Fixed: repeating an image size in the "Create an image size" menu. - Fixed: wrong options dialog. - Fixed: partial image showing in the "Mark an area" dialog. - Fixed: reseting options. - Fixed: dialogs not showing in the taskbar. - Fixed: some minor bugs. 1.0.1.3: 972550f159
IResizer Crack Keygen Full Version Latest
• Organize and display photos • Use filters to organize and display photos • Create groups for grouping photos • Create custom galleries • Edit photos in any aspect • View all photo collections, sort, export, delete, and create folders • Edit and organize images in collections • Zoom in to view photos, protect them from prying eyes • Use the editing tools to crop, add a caption, and other cool features • Delete the photos you don’t want anymore Minimum Requirements: • Windows 8.1, Windows 7, Windows Vista, Windows XP, or Windows 2000 • 4GB of RAM or more • 512 MB of RAM or more • 250 MB free space • 1 GB free space • 1 GHz processor or faster • 2 GB free hard disk space • Fast Internet connection • Mouse • PC with a webcam • Image files that can be loaded to memory • Microsoft Internet Explorer, Mozilla Firefox, Google Chrome, Safari, or Opera web browser • Installing the application Photology’s installation process is quite simple, as it only requires you to double-click on the.EXE file. It then asks you to accept the EULA. Once this is done, you will be greeted by a welcome screen. This begins the most important part of the application, and all tutorials and videos are directly linked to it. All you need to do to view a new tutorial or watch a video is to click on the button “Video Tutorials”, and hit “Play”. For more details, click on the question mark icon, located on the bottom right corner of the screen. You can then proceed to the gallery. The default location for this is your OneDrive account, and you can easily change this by clicking on the settings icon located in the top left corner of the screen. It’s also possible to change the default picture folder if you prefer. The whole experience can be streamlined quite a bit by getting rid of the question mark icon. In the settings panel, go to “General” and hit “Off”. This way, you will be able to view and navigate through the whole gallery by simply tapping on the screen. The library feature makes it possible to access pictures directly from OneDrive. You can either browse through the library of all pictures you have, or select a specific folder for that purpose. Once you select a specific directory, you will be
What's New In?
Dynamic linetype formatting, along with the powerful new Stylus tool, lets you apply real-world design rules to line and stroke settings. Design rules will automatically adjust when you dynamically change linetypes. Stereolithography: The ability to easily capture geometry, and to export it for 3D printing, is improved. Create animated and responsive behavior. Enhanced support for 3D objects. Enhanced exporting of 3D models. Enhanced support for X3D file format. What’s new in AutoCAD R20 Style Update: There’s new curvy and solid line styles in addition to the linear style styles you’ve grown accustomed to. The new style will be applied automatically when you change the line style of existing lines. New curvy and solid line styles in addition to the linear style styles you’ve grown accustomed to. The new style will be applied automatically when you change the line style of existing lines. Outline stroke now works on more commands. Now works on more commands. Choose from more command options. Now lets you add additional grips to grips you have already created. Graphics Driver and Environment: The Driver Manager now shows graphics drivers installed in your system. The Taskbar and Start Menu UI can be customized. The desktop user interface can be customized. Enhanced pan and zoom navigation on the 3D views. Enhanced map navigation and map features. Web page browsing with PIA. Web page browsing with Drive. Project Manager: Schedule drawings. Apply your drawing revision to all open drawings in a project. Update all drawings in the project with a single click. Remove drawings from a project and then easily re-add them later. Update all drawings in a project with a single click. Remove drawings from a project and then easily re-add them later. Multiple locations can be checked for project updates at one time. Create a project schedule. Create a project schedule. Add comments to drawings. Share your project online. Annotation Tool: The freehand annotation tool now supports multi-color, transparent, and outline colors.
System Requirements For IResizer:
Operating System: Windows XP, Vista, 7, 8, 10. Mac OS X 10.4 or higher Linux (Ubuntu or any other major distro) Processor: Intel(R) Pentium(R) Dual Core™ CPU T7250 @ 2.10GHz Intel(R) Celeron(R) CPU E5200 @ 2.20GHz Memory: 2GB
OptiTask
Flash USB Recovery
Microsoft Active Accessibility SDK Tools
